Last week we announced our sweetheart Valentine’s Day canvas giveaway! I hope you’ll all enter this free contest; this promotion is near and dear to my shutterbug heart. In the blog post announcement, I covered a few quick tips to help you prepare your photos for professional printing. Today I’d like to walk you through the process step by step in Photoshop.
Canvas Photo Printing Guide in Photoshop CS6
Since the prize is a 12″ x 18″ custom print, that’s the size we’ll create in this how to. I’m using Photoshop version CS 6, but the steps are basically the same as the parts of the program we’re using haven’t changed much over the years. I used the same techniques when I made my own wall art at Christmas, and I have CS 5 at home.
Step 1) Open a new document in Photoshop (Ctrl + N)
Step 2) Name your document whatever you like, set the present to “Custom,” and apply the following settings:
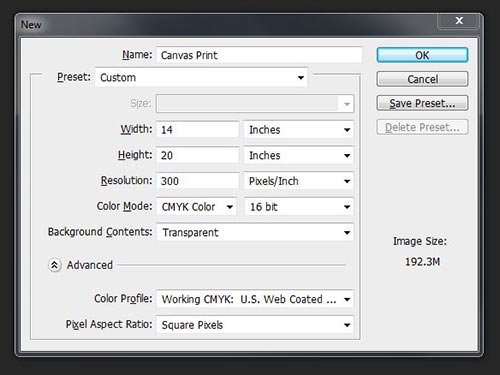
It’s super important to set the resolution to 300 Pixels/Inch (DPI) and the color mode to CMYK. This way we know we’re working with a high resolution image, which is mandatory for pro printing. Unless you’re ok with a fuzzy, pixelated, or otherwise distorted artwork, please, please, use the best quality image you can find. Now some printers may not require CMYK—they can just write their own tutorials. We’re a 4 color process kinda shop, and we want you to see what your colors will look like so you can perform any adjustments before it’s too late. I chose a 16 bit image to be on the safe side.
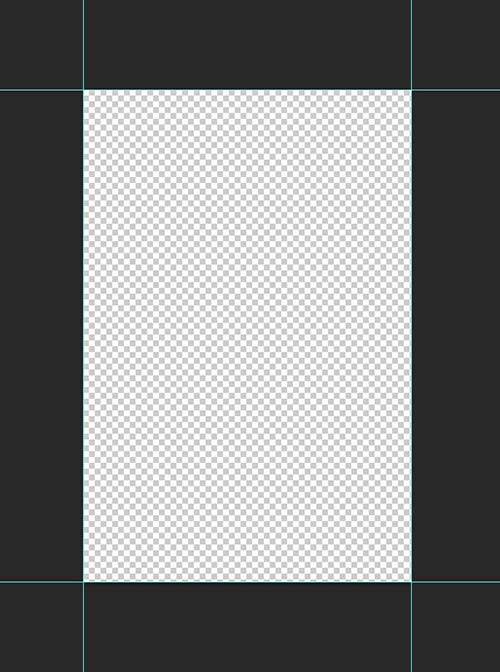
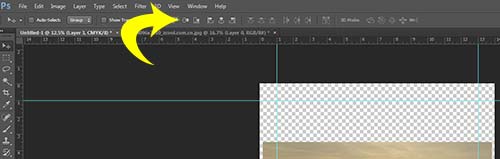
Step 3) Make guides (View>New Guide or press Crtl + R and drag your guides from the rulers) and snap them to the edges of your document like so:
Step 4) We need a bleed! Adjust the Canvas Size (Image>Canvas Size or Alt + Ctrl + C) to 14″ x 20″. The result will look like this:
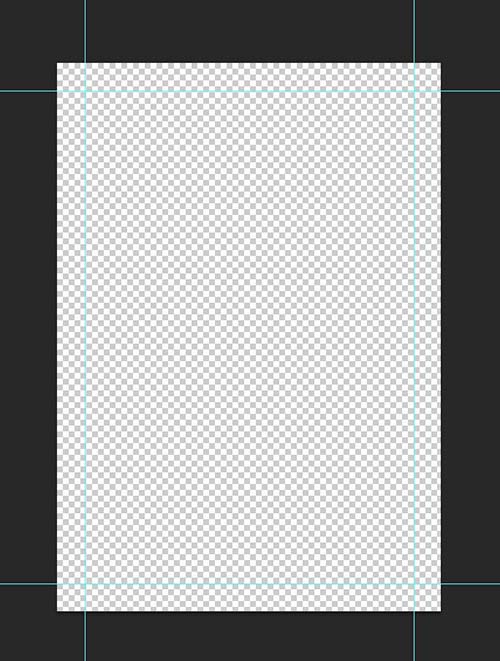
A couple of things need to be addressed here, so I’m going to explain why we need to use these settings in the first place. You may be wondering why our canvas size measures 14″ x 20″. I mean, we’re making a 12″ x 18″ print, right? The extra 2 inches on all sides covers our bleed area, although in this case we don’t need a bleed because of ink expansion. Instead, we need those 2 inches to complete the wrapped portion of the project. At PrintFirm we offer large format mounted canvas, which means there are stretcher bars on the back. Your artwork needs to be able to wrap around the edges in full color or else there will be a big white border at the edges.
Everything inside the guides is your safe zone, meaning that’s where your artwork appears. The 2 in bleed area will cover the sides, so it’s not as visually striking as the rest of your design.
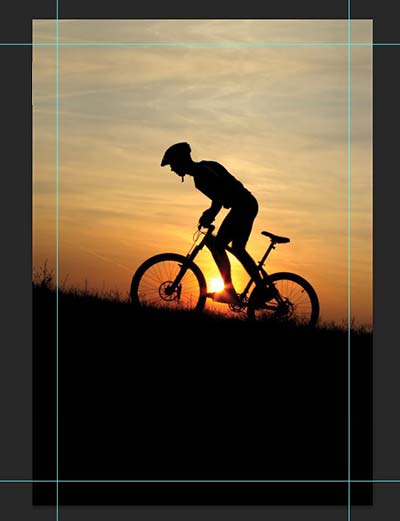
Step 5) Open up your image and think BIG! Unless you have a giant file taken with a professional camera, I strongly suggest you pick a photo with very simple composition. In my example, I’ve got a picture of a guy riding a mountain bike. He’s more or less a silhouette against a sunset, so there’s not a lot going on in this image. Reason being, sometimes your picture isn’t big enough to cover the canvas. There are ways to work around this without stretching to enlarge, but they are much easier when you start with a fairly basic picture. Here’s what I ended up with:
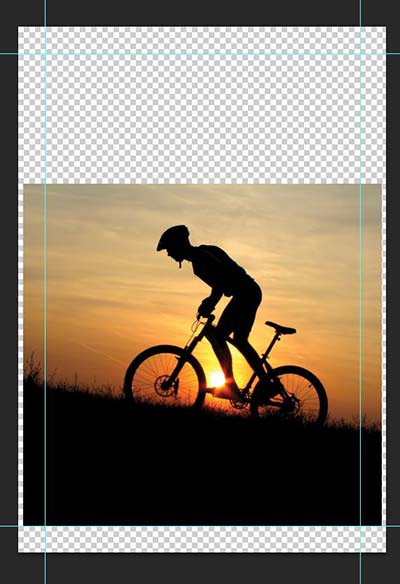
Notice how the image doesn’t cover the whole canvas? That’s not what we want. If your image is large enough to fill up all the space, great! You can stop right here and save your file. Otherwise, you’ll have to improvise along with me.
There are several methods of cleaning up an image without distortion. Some people use the clone stamp tool in these situations; I’m not one of them. I simply copy portions of the image and paste them in the empty space.
Step 6) Center the photo. Press (Ctrl + A) to select all, and align vertical/horizontal centers from the menu bar:
When you’re done, press Ctrl + D to deselect.
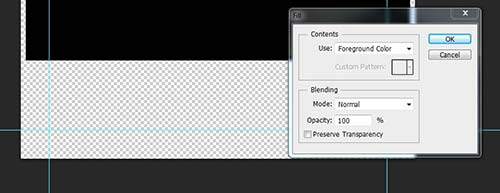
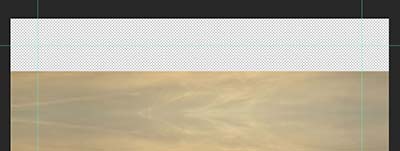
Step 7) Make the photo BIGGER! Ok, I’m not really going alter the image itself. I’m just going to fill up space starting with the bottom. You might want to duplicate the original image on a new layer (Ctrl + J) so as to keep it intact. Zoom in (Ctrl + +) and double click the foreground color to select the right shade with the color picker tool. Now use the rectangle marquee tool to outline the whole bottom area beneath the photo, including the bleed area. Right click the inside of the rectangle and choose the fill option. Since we’ve already found our color, fill the rectangle with the foreground color.¬
Step 8) Fix the sides. There’s no that much space in the bleed area on either side, yet we can’t leave even the smallest portion of the canvas empty. For this portion, we’re going to simply copy a small part of the image, flip it, and presto!
Here I used the marquee tool to copy (Ctrl + C) a small part of the picture. Next, I create a new layer and paste the copy on it. I want the copy to blend with the rest of the image to appear clean, so I’m extra careful to zoom in to get the perfect placement. When I’ve got the copy in exactly the right spot so it’s not overlapping the rest of the image, I flip it horizontally for a better match (Edit> Transform>Flip Horizontal).
Step 9: Repeat step 8 with the right side. We end up with this very realistic effect:

Step 10: Top off the top. We’re basically going to do the same copy/paste trick for the top portion, although we can tell by looking at the image that there’s a lot more space to fill. That means the top probably won’t look as hot as the rest of our masterpiece, but what can you do.
Before I go any further, I’m going to merge the bottom and the sides to the rest of the image. Click on the layer above the photo, and press Ctrl + E to merge its contents with the image. Repeat until the additional layers get disappeared.
Finally, I’m going to copy a portion of the sky above the cyclists’ head. Careful not to get any of his helmet, we only want the clouds. This time, flip the copy vertically (Edit> Transform> Flip Vertical). Since we don’t have very much sky to work with, we’ve still got a sizeable amount of background to hide. I think it makes more sense to merge the sky addition and copy the result down to the helmet (Ctrl + E). Be sure to zoom in and out beforehand to check your alignment for any gaps.
Paste the copy above the image, flip it vertically (Edit>Transform>Flip Vertical), and we’re done! Our end result isn’t perfect, but it’s sure a lot better than a giant border.
Save the file as a PDF or a flattened PSD, and we’re ready to upload.
Wrapped Canvas Tutorial Questions
Do you have any questions about this tutorial or canvas file prep? Ask in the comments below!